

Requirements
- Label at least one nodegroup in the cluster with
cpln.io/nodeType=core. This label deploys critical system pods and workloads managed by the Control Plane Platform. - Minimum 2 CPUs per node (4 CPUs or more recommended)
- Minimum 8 GB of RAM per node (16 GB or more recommended)
- Minimum 2 nodes per cluster (3 or more recommended)
- Node processor architecture: amd64, arm64
- Supports the three most recent minor releases of Kubernetes for installation. For information on Kubernetes releases, see the Kubernetes releases page.
- Full network connectivity between all nodes in the cluster (either public or private network)
- Enable egress access for all nodes (contact customer support for alternatives if this is not feasible)
- Exclude service-mesh from your cluster. Control Plane provides an out-of-the-box Istio-based service-mesh
- A working load balancer controller so that at least one service of type LoadBalancer is able to obtain a public or private ip address
Setup Procedure
Step 1 - Create BYOK Location Using the UI Console
-
Create a new location by either:
- Clicking
Locationsin the left menu and then clickingNew, or - Clicking the
Createdropdown in the upper right corner and selectingLocation.
- Clicking
-
Enter a unique name. Click
Next (Tags). -
Enter any optional tags. Click
Create.
Step 2 - Install Location on a Kubernetes Cluster
- Generate the install command:
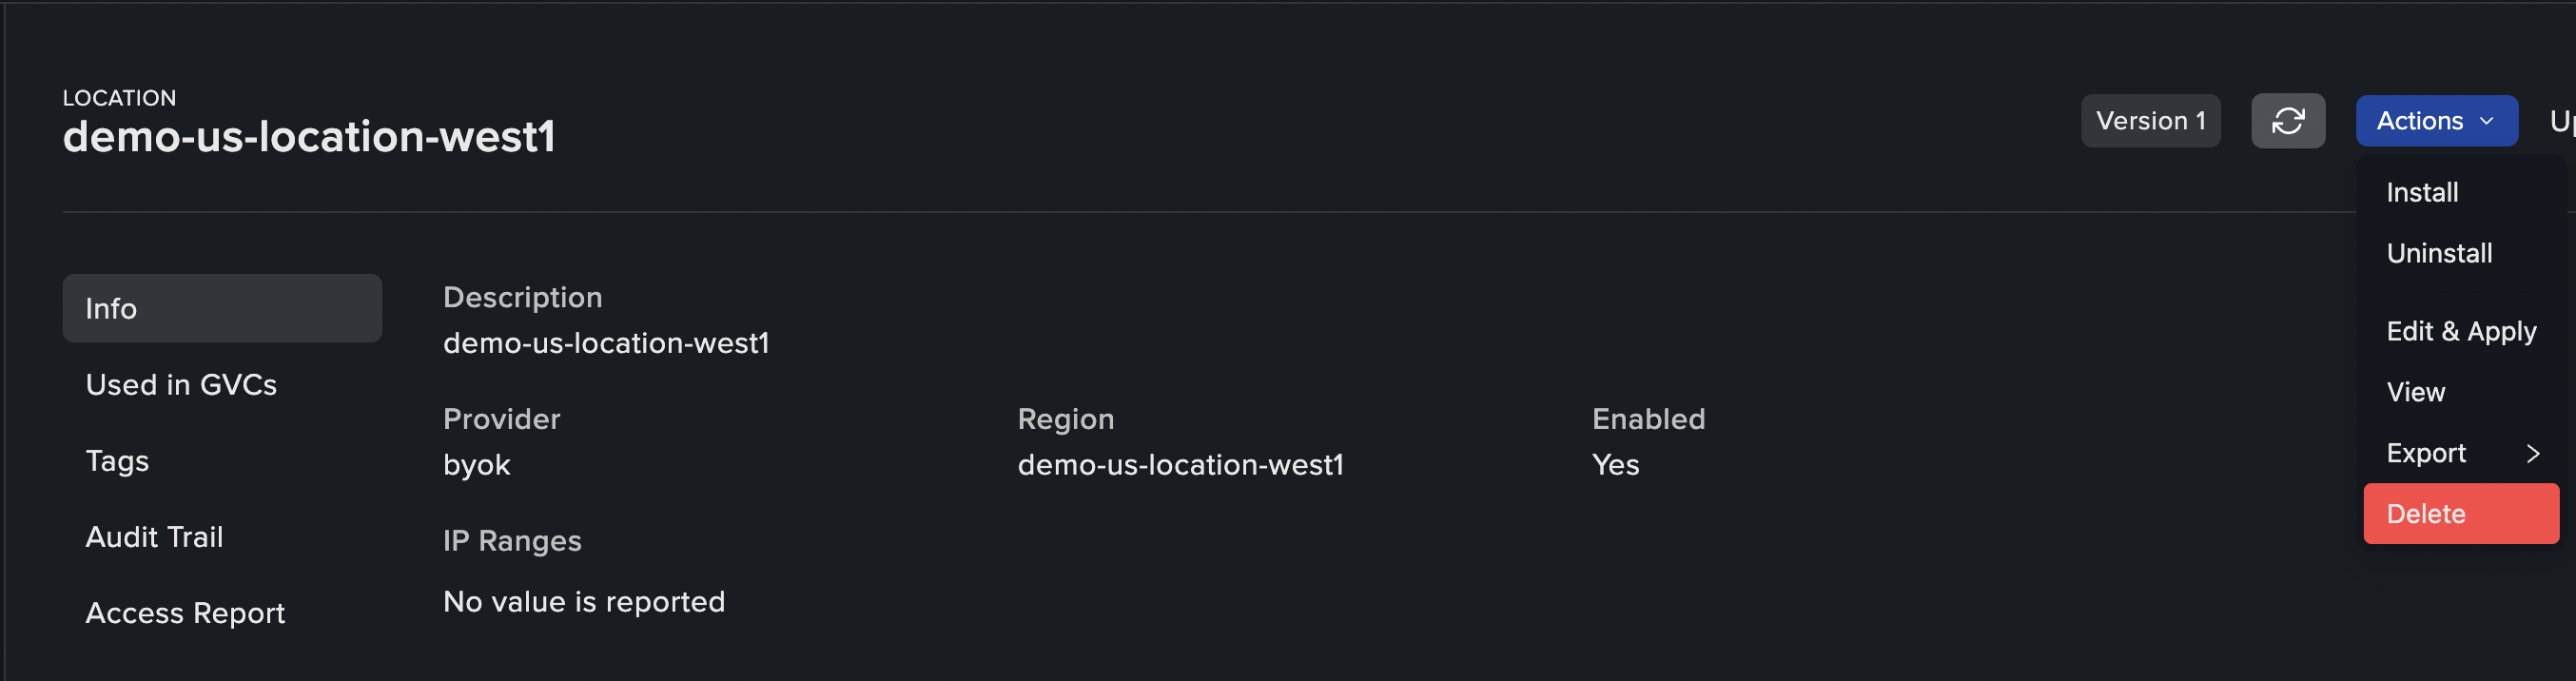
- Click
Actionsin the upper right corner of the created location page and chooseInstall.
- Click
- Copy the generated kubectl command. You will need to apply the command within about 5 and a half minutes, as the manifests contain sensitive tokens.
- Connect to your Kubernetes cluster that you wish to integrate as a location in Control Plane and apply the kubectl command generated in the previous step.
-
Follow the
cpln-byok-agentdeployment in thekube-systemnamespace. Use the following command to fetch its status:Thecpln-byok-agentwill create and maintain the necessary deployments for your location to function. Allow a few minutes for all necessary components to finish deploying.
Ensure at least one of the node groups is labeled with
cpln.io/nodeType=core, as it is required to deploy essential components.Uninstall Procedure
- Generate the uninstall command:
- Click
Actionsin the upper right corner of the location you want to remove and chooseUninstall.
- Click
-
Copy the generated
kubectlcommand. You will need to apply the command within about 5 and a half minutes, as the manifests contain sensitive tokens. -
Connect to your Kubernetes cluster that you wish to remove from the location in Control Plane and apply the
kubectlcommand generated in the previous step. -
The job
cpln-agent-uninstallwill be created in thekube-systemnamespace. It will clean up all BYOK components from the cluster.
Cloud Provider Recommendations
GKE
- Private Cluster: Enabled
- Default SNAT: Enabled
- Stack type: IPv4
- VPC-native traffic routing: Enabled
- Intranode visibility: Disabled
- HTTP Load Balancing: Enabled
- Calico Network Policy: Enabled
- DNS provider: Kube-DNS
- Shielded GKE Nodes: Enabled
- Application -layer secrets encryption: Enabled
- Compute Engine persistent disk CSI Driver: Enabled
- Service Mesh: Disabled
EKS
- Enabled Add-ons:
- Amazon VPC CNI
- kube-proxy
- CoreDNS
- Amazon EBS CSI Driver
Settings
When using a BYOK Location with Control Plane there are additional settings available to control the behavior of that location.- Agent Configuration: Agent settings are used during the installation and upgrade of all BYOK components.
- Actuator Settings: Actuator settings are used to control ingress and other changes to the way workloads are created in Kubernetes.
- Workload Settings: Additional workload settings when using a BYOK Location.
- Volume Set Settings: Additional volume set settings when using a BYOK Location.