> ## Documentation Index
> Fetch the complete documentation index at: https://docs.controlplane.com/llms.txt
> Use this file to discover all available pages before exploring further.
# CPLN BYOK
> Integrate your own Kubernetes cluster into Control Plane as a new location, enabling managed workload deployment on your own infrastructure.
The CPLN BYOK (Bring Your Own Kubernetes) allows you to integrate a Kubernetes cluster into the Control Plane Cloud Platform. It works by installing a few additional components into the cluster and then it registers as a new Location in the API for your Org(s). Any Workloads that are configured for that Location will be managed by Control Plane and roll out onto your cluster. You get all the benefits of Control Plane with the added flexibility and security of running in your own cloud account or data center.
## Requirements
* Label at least one nodegroup in the cluster with `cpln.io/nodeType=core`. This label deploys critical system pods and workloads managed by the Control Plane Platform.
* Minimum 2 CPUs per node (4 CPUs or more recommended)
* Minimum 8 GB of RAM per node (16 GB or more recommended)
* Minimum 2 nodes per cluster (3 or more recommended)
* Node processor architecture: amd64, arm64
* Supports the three most recent minor releases of Kubernetes for installation. For information on Kubernetes releases, see the [Kubernetes releases page](https://kubernetes.io/releases/).
* Full network connectivity between all nodes in the cluster (either public or private network)
* Enable egress access for all nodes (contact customer support for alternatives if this is not feasible)
* Exclude service-mesh from your cluster. Control Plane provides an out-of-the-box Istio-based service-mesh
* A working load balancer controller so that at least one service of type LoadBalancer is able to obtain a public or private ip address
## Setup Procedure
### Step 1 - Create BYOK Location Using the UI Console
1. Create a new location by either:
* Clicking `Locations` in the left menu and then clicking `New`, or
* Clicking the `Create` dropdown in the upper right corner and selecting `Location`.
2. Enter a unique name. Click `Next (Tags)`.
3. Enter any optional [tags](/core/misc#tags). Click `Create`.
You have now created a new location. To use it, install this location on at least one Kubernetes cluster as described in the next step.
### Step 2 - Install Location on a Kubernetes Cluster
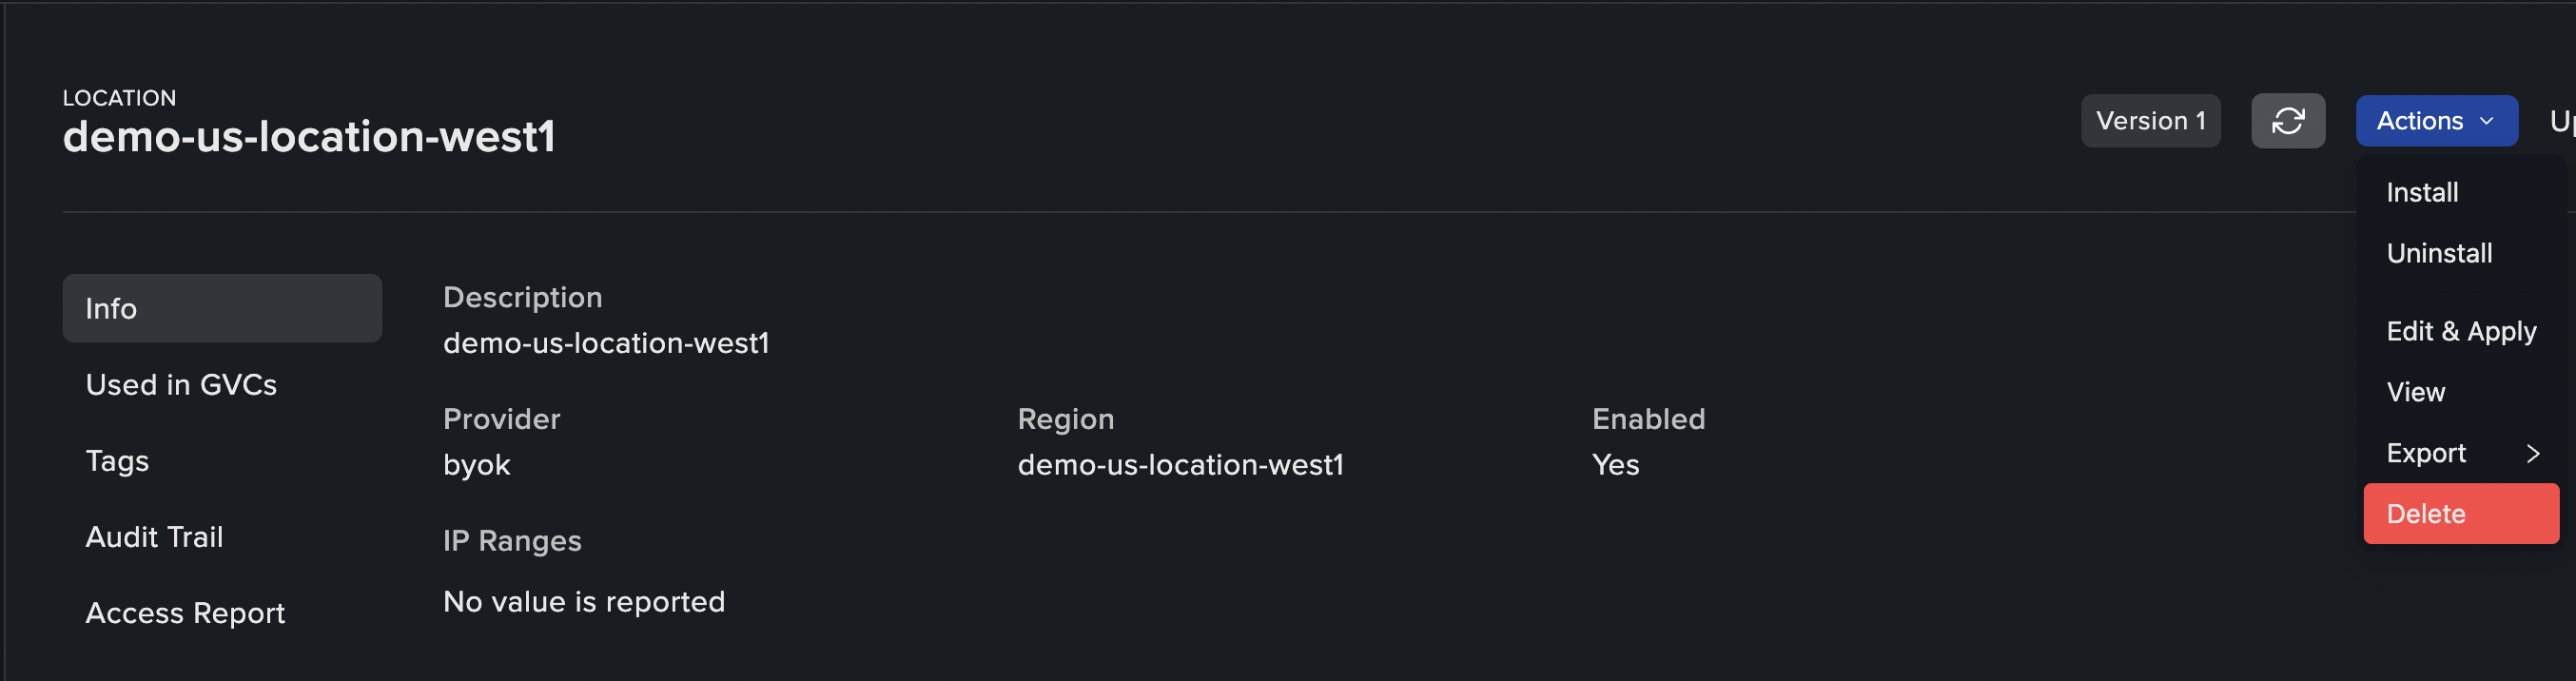
1. Generate the install command:
* Click `Actions` in the upper right corner of the created location page and choose `Install`.
 2. Copy the generated kubectl command. You will need to apply the command within about 5 and a half minutes, as the manifests contain sensitive tokens.
3. Connect to your Kubernetes cluster that you wish to integrate as a location in Control Plane and apply the kubectl command generated in the previous step.
4. Follow the `cpln-byok-agent` deployment in the `kube-system` namespace. Use the following command to fetch its status:
```shell theme={null}
kubectl get pod -l app=cpln-byok-agent -n kube-system
```
The `cpln-byok-agent` will create and maintain the necessary deployments for your location to function. Allow a few minutes for all necessary components to finish deploying.
Ensure at least one of the node groups is labeled with `cpln.io/nodeType=core`, as it is required to deploy essential components.
You can now add the BYOK location to a GVC in your Org.
Repeat [Step 2 - Install Location on a Kubernetes Cluster](#step-2-install-location-on-a-kubernetes-cluster) if you need to add more clusters to the same location, or start from [Step 1 - Create BYOK Location Using the UI Console](#step-1-create-byok-location-using-the-ui-console) to add another location.
## Uninstall Procedure
1. Generate the uninstall command:
* Click `Actions` in the upper right corner of the location you want to remove and choose `Uninstall`.
2. Copy the generated `kubectl` command. You will need to apply the command within about 5 and a half minutes, as the manifests contain sensitive tokens.
3. Connect to your Kubernetes cluster that you wish to remove from the location in Control Plane and apply the `kubectl` command generated in the previous step.
4. The job `cpln-agent-uninstall` will be created in the `kube-system` namespace. It will clean up all BYOK components from the cluster.
## Cloud Provider Recommendations
### GKE
* Private Cluster: Enabled
* Default SNAT: Enabled
* Stack type: IPv4
* VPC-native traffic routing: Enabled
* Intranode visibility: Disabled
* HTTP Load Balancing: Enabled
* Calico Network Policy: Enabled
* DNS provider: Kube-DNS
* Shielded GKE Nodes: Enabled
* Application -layer secrets encryption: Enabled
* Compute Engine persistent disk CSI Driver: Enabled
* Service Mesh: Disabled
After the GKE cluster is created, you must provide the IP address of the kube-dns service in the kube-system namespace to support.
```bash theme={null}
kubectl get svc -n kube-system kube-dns
```
Once the Control Plane configuration has been applied to the cluster, scale down the kube-dns deployments.
```bash theme={null}
kubectl scale --replicas=0 deployment/kube-dns-autoscaler --namespace=kube-system
kubectl scale --replicas=0 deployment/kube-dns --namespace=kube-system
```
### EKS
* Enabled Add-ons:
* Amazon VPC CNI
* kube-proxy
* CoreDNS
* Amazon EBS CSI Driver
## Settings
When using a BYOK Location with Control Plane there are additional settings available to control the behavior of that location.
* [Agent Configuration:](/byok/settings/agent) Agent settings are used during the installation and upgrade of all BYOK components.
* [Actuator Settings:](/byok/settings/actuator) Actuator settings are used to control ingress and other changes to the way workloads are created in Kubernetes.
* [Workload Settings:](/byok/settings/workload) Additional workload settings when using a BYOK Location.
* [Volume Set Settings:](/byok/settings/volumeset) Additional volume set settings when using a BYOK Location.
## Guides
* [Configure a Content Delivery Network (CDN) Domain.](/guides/configure-cdn#amazon-cloudfront-configuration-steps)
2. Copy the generated kubectl command. You will need to apply the command within about 5 and a half minutes, as the manifests contain sensitive tokens.
3. Connect to your Kubernetes cluster that you wish to integrate as a location in Control Plane and apply the kubectl command generated in the previous step.
4. Follow the `cpln-byok-agent` deployment in the `kube-system` namespace. Use the following command to fetch its status:
```shell theme={null}
kubectl get pod -l app=cpln-byok-agent -n kube-system
```
The `cpln-byok-agent` will create and maintain the necessary deployments for your location to function. Allow a few minutes for all necessary components to finish deploying.
Ensure at least one of the node groups is labeled with `cpln.io/nodeType=core`, as it is required to deploy essential components.
You can now add the BYOK location to a GVC in your Org.
Repeat [Step 2 - Install Location on a Kubernetes Cluster](#step-2-install-location-on-a-kubernetes-cluster) if you need to add more clusters to the same location, or start from [Step 1 - Create BYOK Location Using the UI Console](#step-1-create-byok-location-using-the-ui-console) to add another location.
## Uninstall Procedure
1. Generate the uninstall command:
* Click `Actions` in the upper right corner of the location you want to remove and choose `Uninstall`.
2. Copy the generated `kubectl` command. You will need to apply the command within about 5 and a half minutes, as the manifests contain sensitive tokens.
3. Connect to your Kubernetes cluster that you wish to remove from the location in Control Plane and apply the `kubectl` command generated in the previous step.
4. The job `cpln-agent-uninstall` will be created in the `kube-system` namespace. It will clean up all BYOK components from the cluster.
## Cloud Provider Recommendations
### GKE
* Private Cluster: Enabled
* Default SNAT: Enabled
* Stack type: IPv4
* VPC-native traffic routing: Enabled
* Intranode visibility: Disabled
* HTTP Load Balancing: Enabled
* Calico Network Policy: Enabled
* DNS provider: Kube-DNS
* Shielded GKE Nodes: Enabled
* Application -layer secrets encryption: Enabled
* Compute Engine persistent disk CSI Driver: Enabled
* Service Mesh: Disabled
After the GKE cluster is created, you must provide the IP address of the kube-dns service in the kube-system namespace to support.
```bash theme={null}
kubectl get svc -n kube-system kube-dns
```
Once the Control Plane configuration has been applied to the cluster, scale down the kube-dns deployments.
```bash theme={null}
kubectl scale --replicas=0 deployment/kube-dns-autoscaler --namespace=kube-system
kubectl scale --replicas=0 deployment/kube-dns --namespace=kube-system
```
### EKS
* Enabled Add-ons:
* Amazon VPC CNI
* kube-proxy
* CoreDNS
* Amazon EBS CSI Driver
## Settings
When using a BYOK Location with Control Plane there are additional settings available to control the behavior of that location.
* [Agent Configuration:](/byok/settings/agent) Agent settings are used during the installation and upgrade of all BYOK components.
* [Actuator Settings:](/byok/settings/actuator) Actuator settings are used to control ingress and other changes to the way workloads are created in Kubernetes.
* [Workload Settings:](/byok/settings/workload) Additional workload settings when using a BYOK Location.
* [Volume Set Settings:](/byok/settings/volumeset) Additional volume set settings when using a BYOK Location.
## Guides
* [Configure a Content Delivery Network (CDN) Domain.](/guides/configure-cdn#amazon-cloudfront-configuration-steps)